Documentation
General information
Documentation for admins:
Documentation for users:
Examples
Creating a Mapping
Mappings define how Excel files will be uploaded to Salesforce. This means that mappings can only be added by Salesforce Administrators.
Within the 'Admin' menu, navigate to mappings. In the overview, click the 'New mapping definition' button:
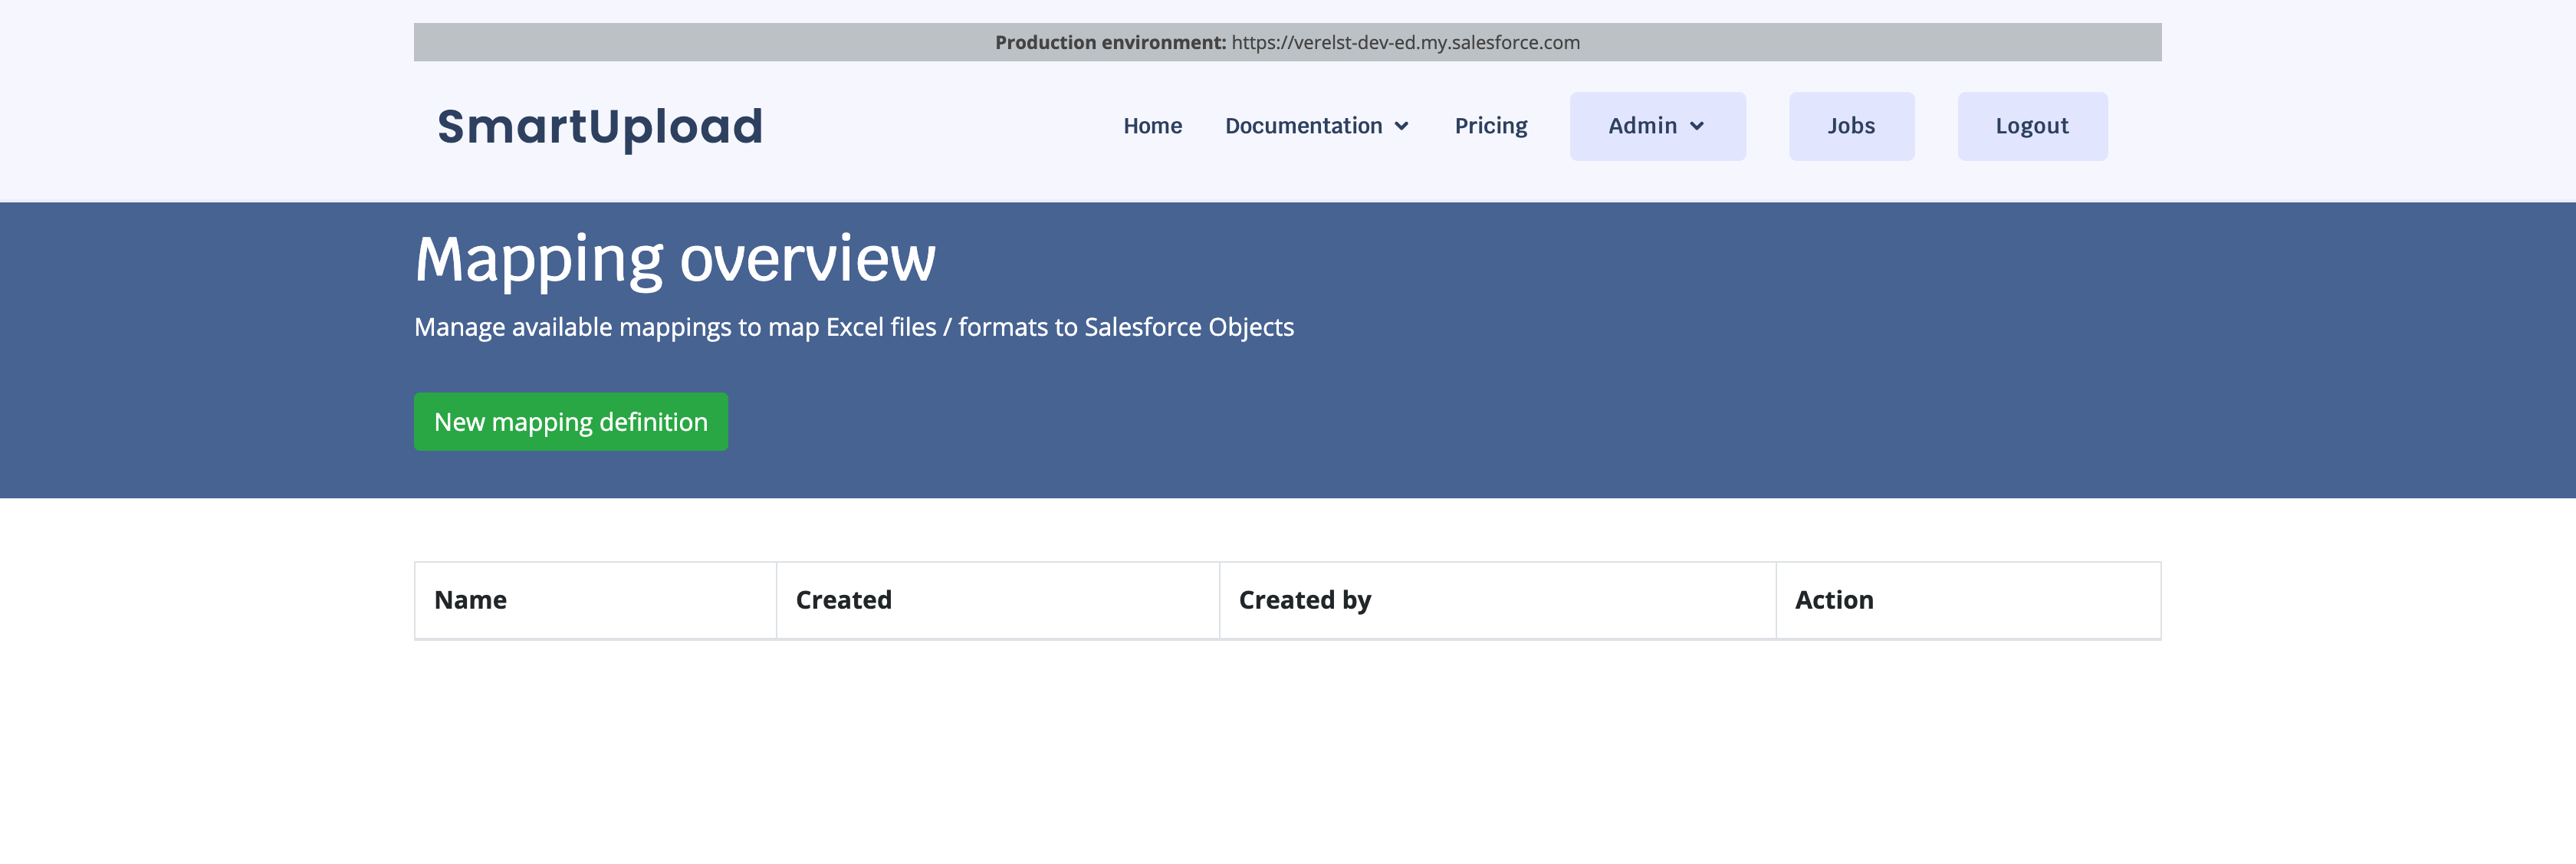
This opens up the following screen, where you can choose for which Salesforce Object you want to create a mapping.
You can also import a mapping from a saved JSON file: this might be useful if you have exported mappings from a separate Sandbox environment. This allows you to quickly set up a mapping with exactly the same configuration.

After clicking 'Next', the details need to be filled in. In the following screen, you can set some generic information about the mapping, such:
The name and description, these will be shown to the user in an overview of available mappings for them.
The operation, which can be one of:
insert: to insert new records into Salesforce
update: to update existing records in Salesforce
upsert: to either update existing records, or create them if they don't exist.

When you scroll down, you can add the field mappings, by clikcing the 'Add Row' button. For every field, you must specify the following:
The field in Salesforce in which the data from the Excel file will be loaded
The title of the column in your Excel file that contains the data
Note: you can leave this empty, but then you are required to put in a default value
The datatype: this is one of the following:
text
integer
double
date
lookup
boolean
The default value in case the values in this column in the Excel file are empty
You can go into Advanced options for some advanced configuration.
